
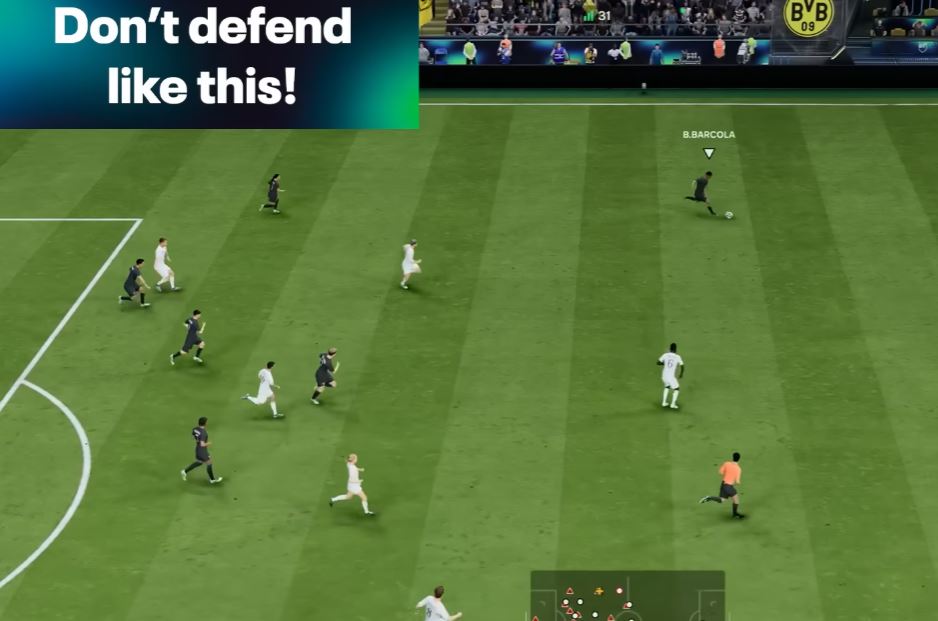
Defending in FC 26 stands as the most challenging aspect, as it should be. However, using last year’s defensive approach will not work; players must adjust and adopt a more patient, unified style. Previously, aggressive center back pressing was effective, but this year’s gameplay rewards patience, discipline, and team-based defense. This tutorial explains the new defending essentials and provides practical steps to improve defensive performance.
Switching to Tactical Defending
The first adjustment is to turn off advanced defending. This year, advanced defending with X seal outs and solar challenges is inconsistent and less effective. Tactical defending streamlines the process: pressing circle (or B on Xbox) will contextually choose between a stand tackle and a shoulder challenge, providing a greater margin for error.
Tactical defending is forgiving. For example, pressing circle with poor timing will not always result in a penalty; instead, it may produce a short pull that halts the attack. This makes it easier to defend, as mistakes are less punishing.
Fullback Defend Settings and Formation Balance
Using fullback defend will prevent many easy goals and counters, especially since center mids and even holding CDMs may push forward. If fullbacks are also set to join the attack, the defense becomes vulnerable to fast breaks, particularly against aggressive formations like the 4-2-1-3. The safest option is to set fullbacks to defend (or at least balanced).
| Fullback Role | Effect | Best Use |
|---|---|---|
| Defend | Prevents counters, keeps shape | Wide players staying back |
| Balanced | Offers some attacking support | If more support needed in possession |
| Attack | Risk of being exposed | Not recommended this year |
Avoiding Center Back Mistakes
Pulling center backs out of position—a habit from last year—now results in being punished by faster attackers and improved passing. Do not hold the R1 press button too long, especially with center backs. Overusing R1 drags them out of their safe zone, offering opponents dangerous space and often leading to goals against.
Likewise, avoid spamming the stand tackle button. Excessive button pressing causes erratic defensive movement.
Tracking Back with Midfielders
Instead of pulling center backs, track back using midfielders. Use CAMs, CMs, or CDMs to help cover gaps and defend as a unit. This keeps central defenders in position and improves overall defensive solidity.
Fullbacks should be used to support when attackers get wide or make bad touches. Switch to fullbacks when needed, but keep center backs primarily in their defensive zone unless a dangerous run or large gap appears.
When and How to Use Center Backs
Activate center backs only when necessary—such as when a dangerous run threatens or when a gap emerges in the box. Use L1 to switch to the nearest player or right stick (raic) switching for precise control. Always scan the pitch for threats and respond accordingly.
Lunging at attackers is best reserved for moments when they take a bad touch. Otherwise, patience and positioning are paramount.
Second Man Press and Manual Coverage
The second man press (R1 or RB) is invaluable for providing defensive support. Use it to have the AI press the ball holder while manually covering inside passing lanes. The green indicator shows the second man assisting.
On the flanks and near the box, always try to double up by using second man press while you control another defender. Do not control the same player for too long; combine right stick and L1 switching to cover threats and adapt to shifting attacks.
Jockeying and 1v1 Defense
In one-on-one situations, the L2 button (jockey) is essential. Combine L2 with R2 (speed jockey) for quicker transitions. Engage jockeying almost always in 1v1s to ensure smooth, responsive defensive movement.
Do not panic or spam the tackle button. Only press it for extra reach when necessary.
Goalkeeper Control and Set Piece Defense
Even with perfect defending, opponents will still create chances, making active goalkeeper control crucial. Use the right stick to move the goalkeeper and triangle to rush out.
For corner kicks and far post shots, double tap triangle at the last second to cover the angle, but avoid moving too early. Baiting with keeper movement can also be effective—double tap early and move back if needed.
| Action | How To | When To Use |
|---|---|---|
| Keeper Rush | Hold Triangle |
1v1, breakaways |
| Far Post Cover | Double tap Triangle |
Stop far post shots |
| Bait & Recover | Double tap, move, then tap to return | Trick opponent shot direction |
Team Press, Offside Trap, and Tactical Fouls
Team press (D-pad up, right) is effective for waking up AI defenders, stopping short corners, or applying intense pressure—but use sparingly to avoid stamina drain. The automatic offside trap is gone, so activate it manually (D-pad up, up) only when the opponent is turned away from goal or during loose balls.
To halt counters, a professional foul (R1 + X or RB + A) is sometimes required, but this results in a guaranteed yellow card. Avoid with already booked players.
Posture Team Press and Hard Tackles
An underrated feature is posture team press, activating two extra AI-controlled players for a brief period. Double tap and hold R1 to trigger this; blue indicators show activation. Use this for high-pressure moments, stopping cutbacks, or tracking runs without exposing center backs.
The last resort tackle uses R1 + Square (RB + B) for a powerful slide with extra reach—ideal for desperate situations to stop a certain goal.